While I plan to add shadowing eventually I don't want to open that can of worms quite yet so I had a look around for a simpler technique that would add visual interest. I thought about adding normal mapping but the extra storage required for storing tangent and binormal information on the vertices put me off as my vertices are already fatter than I would like. While looking in to this however I came across a blog post by Rory Driscoll from 2012 discussing Derivative Mapping, itself a follow up to Morten Mikkelsen's original work on GPU bump mappng. This technique offers a similar effect to normal mapping but uses screen space derivatives as a basis for perturbing the surface normal using either the screen space derivatives calculated from a single channel height map texture or the pre-computed texture space derivatives of said height map stored as a two channel texture.
This was appealing to me not just because I hadn't used the technique before and was therefore interested just to try it out, but also from an implementation point of view I would not have to pre-compute or store anything on the vertices to define the tangent space required for normal mapping saving a considerable amount of memory given the density of my geometry. It also solves the problem of defining said tangent space consistently across the surface of a sphere, a non-trivial task in itself.
Thanks to the quality of the posts mentioned above it was a relatively quick and easy task to drop this in to my terrain shader. I started with the heightfield based version as with the tools I had available creating a heightfield was easier than a derivative map but while it worked the blocky artifacts caused by the constant height derivatives where the heightmap texels were oversampled were very visible especially as the viewpoint moved closer to the ground. I could have increased the frequency of mapping to reduce this but when working at planetary scales at some point they are always going to reappear. To get round this I moved on to the second technique described where the height map derivatives are pre-calculated in texture space and given to the pixel shader as a two channel texture rather than a single channel heightmap. The principle here is that interpolating the derivatives directly produces a higher quality result than interpolating heights then computing the derivative afterwards. I had to write a little code to generate this derivative map as I didn't have a tool to hand that could do it but it's pretty straightforward.
Although this takes twice the storage and a little more work in the shader the results were far superior in my context with the blocky artifacts effectively removed and the effect under magnification far better.
 |
| A desert scene as it was before I started. With the sun overhead there is very little relief visible on the surface |
 |
| The same view with derivative mapping added. The surface close to the viewpoint looks considerably more interesting and the higher frequency surface normal allows steeper slope textures to blend in |
 |
| The tiling bump map I am using as my source heightfield |
 |
| The derivative map produced from the heightfield. The X derivatives are stored in the red channel and the Y in the green. |
Here is another example this time in a lowlands region:
 |
| A lowlands scene before derivative mapping is applied |
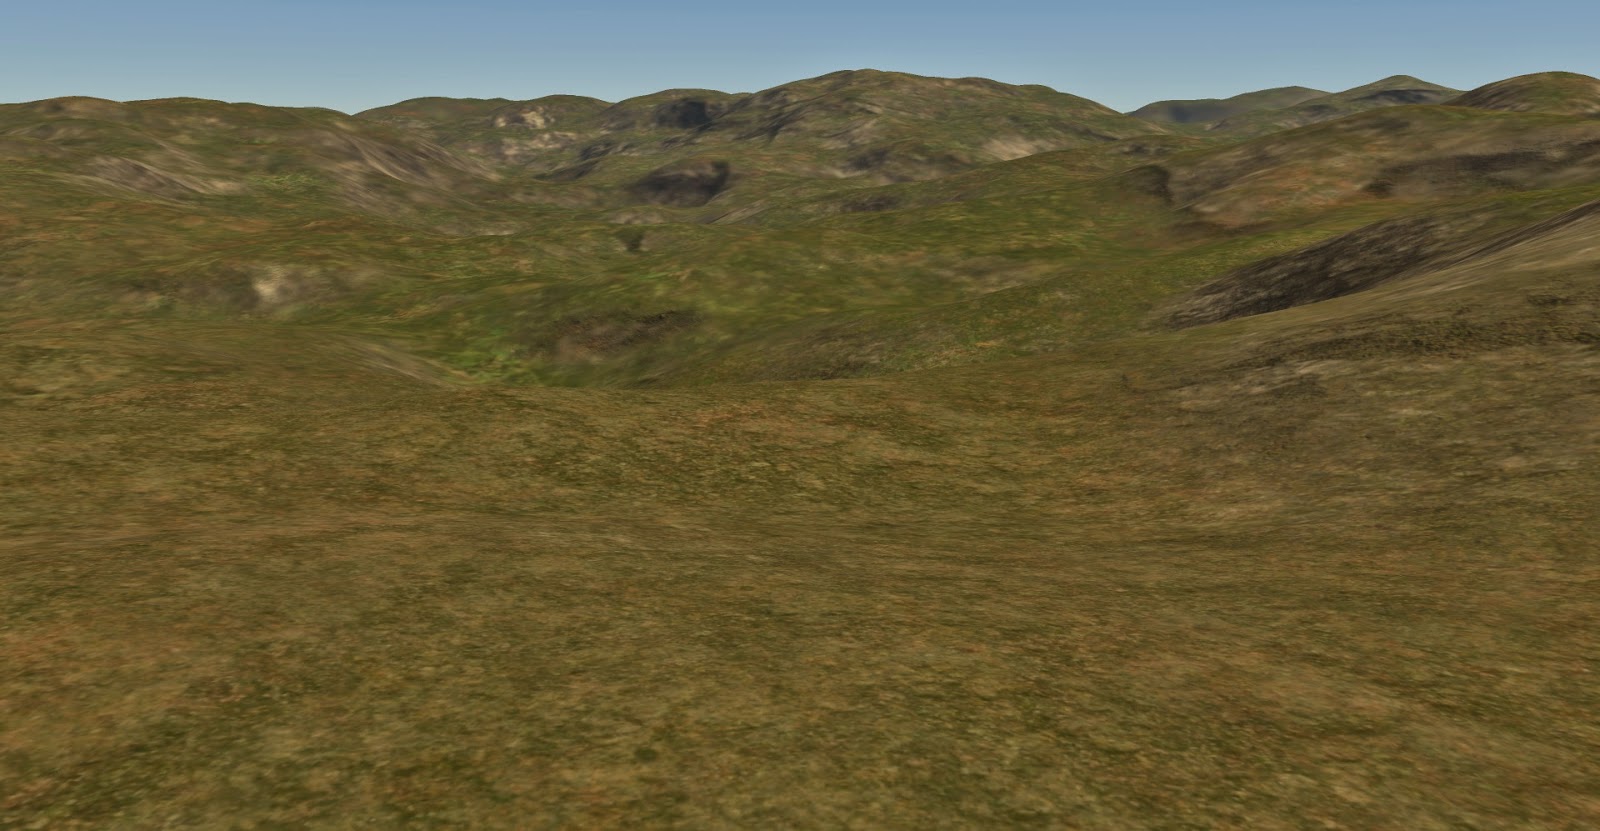 |
| The same scene with derivative mapping. |
Finally, here are a couple more examples, one a mountainous region the other a slightly more elevated perspective on a mixed terrain:
 |
| Mountain scene before derivative mapping |
 |
| The same scene with the mapping applied, the mountain in the foreground shows a particularly visible effect |
 |
| A mixed terrain scene without mapping |
 |
| The same scene with the derivative mapping applied. The boundaries between the flat and steeply sloped surface textures in particular benefit here with the transitions being far smoother |
No comments:
Post a Comment
Comments, questions or feedback? Here's your chance...